Hello, I was trying to figure out how I can load an image file and databend it with audacity. Past tutorials exist but they don’t seem to work with the updated version. Importing a .tif with A-Law works for a 3rd of the image but the rest doesn’t save correctly for some reason. Any help appreciated.
I followed these instructions (using Audacity 2-1-2) … https://www.youtube.com/watch?v=cXjwJPz4qi0
And got this …

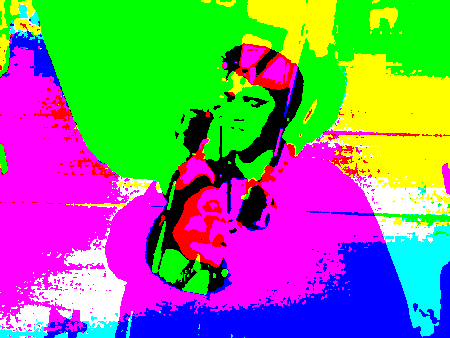
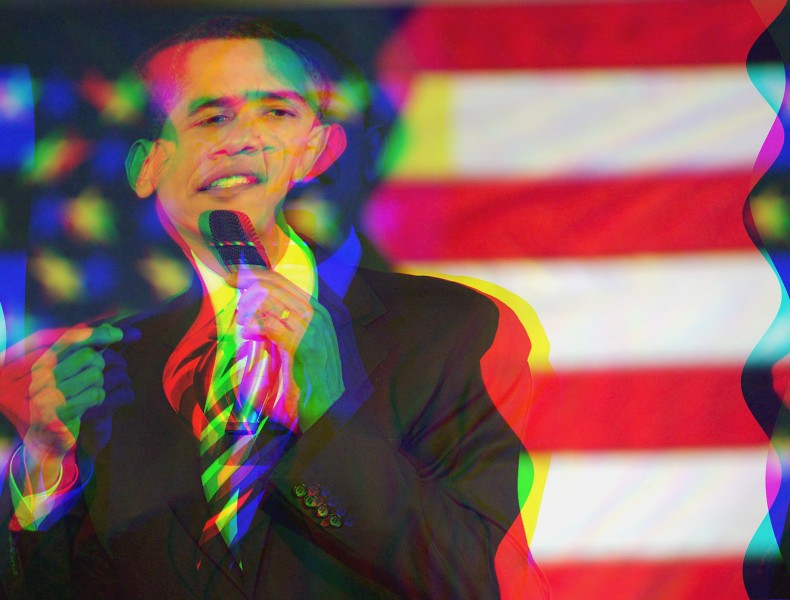
I followed those instructions, applied WahWah effect, and got this:
Wah-Wah Elvis matches the video, I must have done something different :
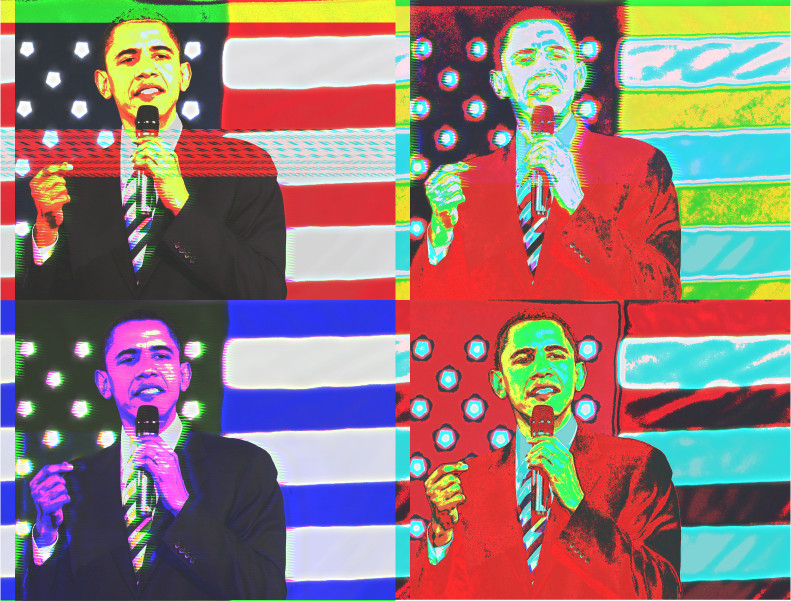
somehow* I’ve split it into R G B channels producing the white/normal/dark Obamas.
The video tutorial said U-law, arkmabat said A-law, maybe that’s the source of their problem, (evidently it’s not Audacity’s fault).
- I omitted to select “planar” …
So long as:
- The Gimp Import format matches the Gimp Export format,
- The image format is not a compressed format,
- The Audacity Export format matches the Audacity Import format,
- The format in Audacity is mono and not compressed,
you will usually get ‘something’ that is at least vaguely meaningful.
The way to test is to export from Gimp and write down the export settings, then import (RAW and mono) into Audacity and write down the import settings. Then, without doing anything to the audio track, export from Audacity using the same settings as the import, then import (“open”) in Gimp using the same settings as the export, and the image should be roughly the same. The difference between the new image and the original image shows how much data loss there has been.
For best results, turn off “High quality conversion > dither” (see: Quality Preferences - Audacity Manual)
Headerless formats are generally better because then you are only dealing with the image data.
You will get different results when processing depending on the formats used. There is no direct correlation between pixel values in the image and amplitude or frequency in the audio track, it’s just a relationship between pixel values and sample values, so the process is all rather hit and miss.
Selecting the “planar” option when exporting from Gimp gives you all the “red” data first, then the “green”, then the “blue”.
The “normal” (RGB) option gives you an audio file containing RGB values for each pixel in order, starting from the top left corner, then scanning left to right working down the picture.
So if you want to operate on colour channels, chose the “planar” option. If you want to work on the image in “top to bottom” fashion, select “normal” (RGB).
The images are surprisingly robust : it takes a lot of "moshing"in Audacity before they become unrecognizable …
8-bit unsigned seems to work pretty well.
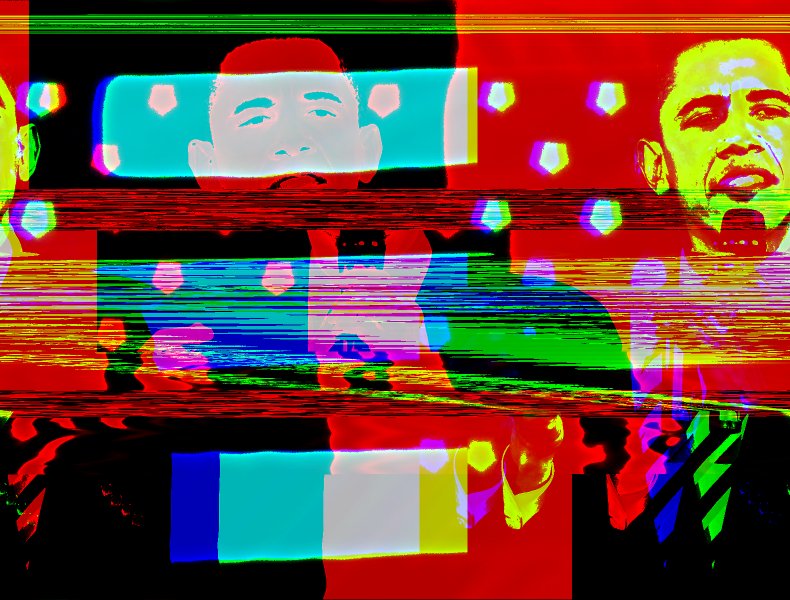
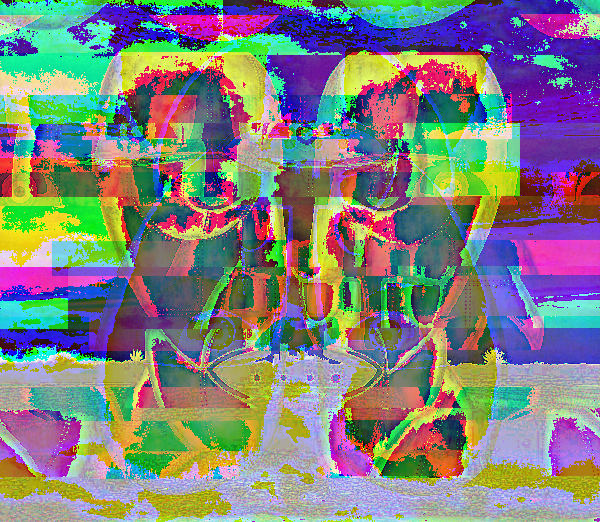
Here’s a bit of “channel moshing”
The inverted part of the image was by “reversing” part of the waveform.
The colours were enhanced in Gimp for the final image.
Thank you. It was an incorrect file format and converting to raw .data fixed it. Thanks.
Excellent.
Are you going to share a couple of pictures with us?
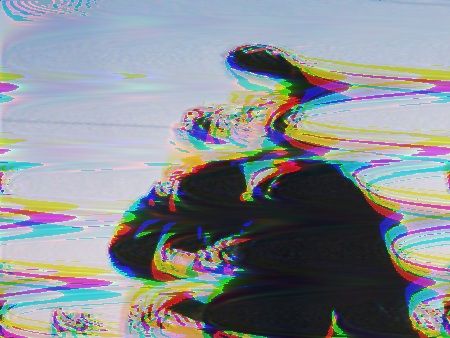
Slow* vibrato = Picasso …
[ * ~0.1Hz ]
Video glitching also possible in Audacity …

Original video must be in .avi format. Import .avi video-file as Raw Data, select encoding “A-law”, “1-channel”.
Don’t modify the first or last 2 seconds of the file, (otherwise it won’t play as a video).
Slight changes in amplitude, 1 to 2dB, are enough to cause artifacts, (envelope tool is ideal for the job).
Export edited file with a name ending in “.avi”, select type “Other uncompressed files”, Header “RAW(header-less)”, Encoding “A-Law”.
Audio on the manipulated parts of the video generally doesn’t survive the process, you’ll have to transplant a copy of the audio onto to the visually-glitched video, ( e.g. using Avidemux video editor, or Windows Movie Maker).
I ducked .AVI video with its audio* in Audacity, it didn’t turn out like I expected: I was trying for a sound-on-vision effect, but ducking just edited out video where there was speech, and moshed-together the left overs …
The duck amount was 1dB, with attack/release times of 200ms
[ * Audio had to be slowed to match the duration of the video data in Audacity ].
Importing RGB raw images into Audacity as 3 channel unsigned 8-bit raw data, then exporting as the same, can give high image quality and color channel separation.
Is that importing as 3 channels, then exporting as 2 (stereo) ? …

I imported and exported as 3 channel, but messed with the channels (tracks) before exporting.