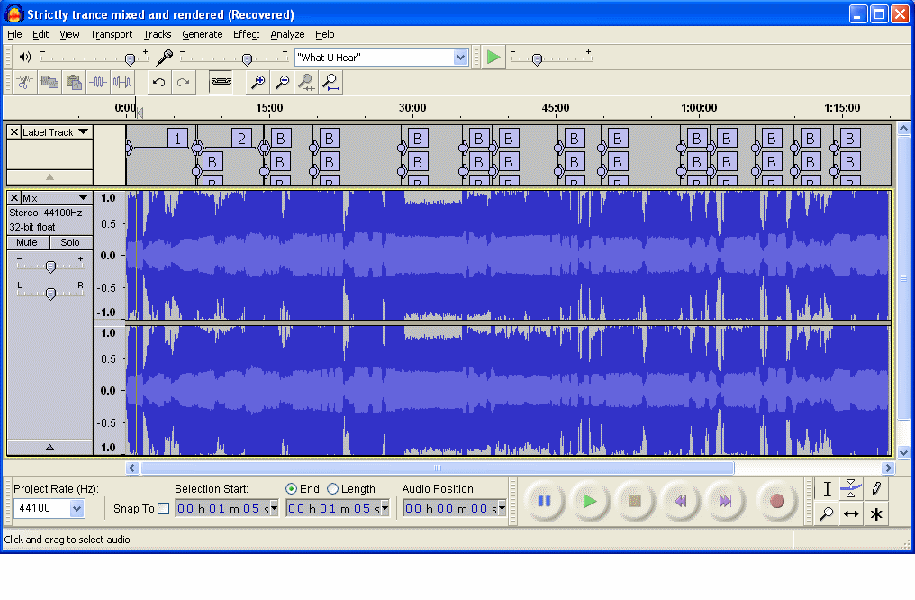
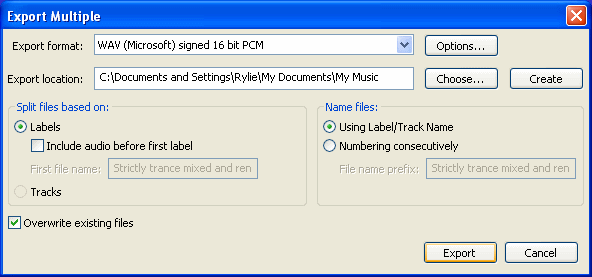
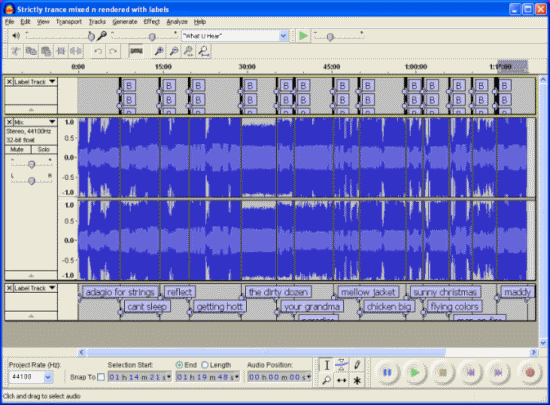
You can avoid the “frenzy of clicking” by turning off the metadata editor - go to Edit > Preferences > Import/Export and uncheck the box that says “Show Metadata Editor prior to export step” - it’s an unfortunate default in Audacity which was done by the developers a whilke back to circumvent a bug they couldn’t fisx at the time.
Now on to the meat of your query. I am somewhat confused, you say that you are using export multiple - but you go on to talk about a single file “when I go to iTunes … the file …” - Export Multiple should produce a set of files, one per labelled track/song not a single file. Are you getting multiple files? Also what format are you exporting from Audacity to import into iTunes.
WC
==================================================================================
In case it helps here is my summarized workflow for getting “stuff” from Audacity to iTunes:
Workflow to take Audacity Projects to AAC in iTunes
- Record and edit the project in Audacity
- Export as a set of WAV files (to facilitate correct ordering later I Label the tracks 01 <track_name_1>, 02 <track_name_2>, etc.)
- Import the WAV files into iTunes
- Use iTunes to make AAC copies (at your chosen bitrate) in the library of the WAV files
- Delete the WAV files from the library.
- Edit the metadata tags of the tracks/album
- And last but not least - backup my updated iTunes library
- Delete the Audacity project file (.aup and folder) to release hard disk space
some more detail:
For step 1. I record and edit with Audacity set at 44.1kHz and 32-bit floating stereo (this gives me good headroom for any required editing) – I down-sample on export to 44.1Khz 16-bit PCM stereo (the Red Book standard for CDs)
For step 2. – I down-sample on export to 44.1Khz 16-bit PCM stereo (the Red Book standard for CDs). All the files for a particular album or show are placed in a specific named folder for that album/show.
For Step 3. in my iTunes application I have the Import Settings ( Edit > Preferences > General > Import Settings ) set to Import Using AAC and with my preferred bitrate set via Custom. I then add the folder created in step 2 above to the iTunes library with the File > Add Folder to Library. This loads the WAV files into the library.
For Step 4. One of the columns I always have showing in my iTunes library is Bitrate. Clicking on the Bitrate column header will re-order the display by bitrate (you need to have All Genres/Artists/Albums showing).
The WAV files should show up as a set at the top of the list (or bottom) - mine show at a bitrate of 1411 kbps. Alternatively you could activate the Kind column - whereby the imported files will show as WAV and similarly clicking on the Kind column header will produce a suitable ordering for you… Select all the WAV files that you need to convert and then use Advanced > Create AAC version.
Actually to facilitate later location of the converted files I usually edit the common metadata tags for the set of WAVS whilst they are selected - most importantly the album/show name.
For Step 5. The WAV files should still be the only selected tunes at this stage, providing that you have done no further clicking - just take extreme care at this stage (the AACs are created but selection is not forced by iTunes) So then I just Delete the selected files using the Delete key - and send the files to my wastebasket (Note carefully that my iTunes is set to copy files in NOT to reference external files - so the WAVs that are deleted are copies of the original source WAVs that iTunes made in my library in step 3. This is set in Edit > Preferences > Advanced with the “Copy tunes into iTunes folder when adding to library” tickbox.)
For Step 6. In order to edit the metadata for Song Name etc - the album is easy to locate as I have already edited the Album tag in Step 4 above.
Step 7. This is a critical step – as I have no desire to lose the valuable fruits of my labours. I maintain two separate 1TB disks. On each disk I place a complete set of the WAV files I have created in their album/show named folders – with the album folders sorted by genre and placed in “Genre folders”. Each disk also contains two generations of backup of my iTunes libraries - (I actually don’t do this library backup after every update - but I do try to do it at least every couple of weeks so I have a roll-back point)..
Step 8. After the backups are made I can then safely release space on my onboard hard drive by deleting the Audacity project files and the originally exported WAV files which remain there.
Yes it’s a bit of work - but worth the effort IMHO 
====================================================================
Alternative Method
Actually there is an alternative method I sometimes use when transcribing a vinyl album. I usually make a CD of these from the set of WAV files, retaining the original ordering of course. I then load this CD into my PC - if I am lucky the Gracenote CDDB database will “recognize” the CD and supply all the necessary metadata for me (otherwise I edit the metadata tags and submit them to Gracenote). Then I can simply rip the CD into my iTunes library in the same way as I would do with a commercially produced CD.
WC
![]()
![]()


