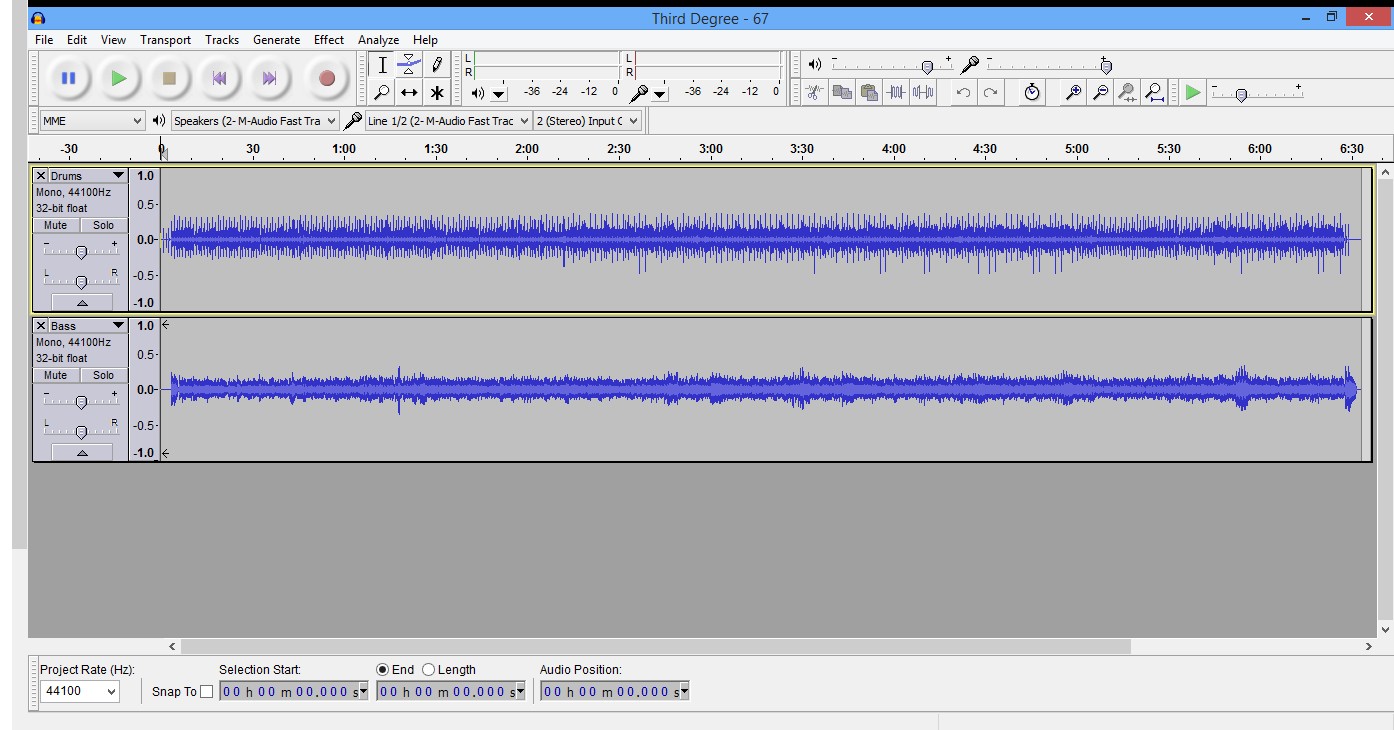
What’s the best way to achieve the same volume output between projects for playback? I’ve attached a few screenshots showing two different projects as an example:
Thanks in advance,
Lawrie

What’s the best way to achieve the same volume output between projects for playback? I’ve attached a few screenshots showing two different projects as an example:
Thanks in advance,
Lawrie
I presume that you mean that you want equal “loudness” (which is a different issue to “amplitude”).
Equal amplitude is easy - just use the Normalize effect.
Equal loudness is much harder as it is a subjective measure that depends on many things including amplitude, frequency, dynamic range, playback equipment and the individual listener’s hearing.
"Replaygain (ReplayGain - Wikipedia) attempts to provide equal loudness playback.
If you have hundreds of files to match, ReplayGain (or one of the similar programs) is the way to go.
But if you have several songs for a CD, the basic procedure would be to do it by ear as follows:
1. Use Amplify to normalize all of the files for 0dB peaks. That’s as loud as you can go without clipping (distortion).*
2. Choose the quietest sounding track as your reference.
3. Adjust the other tracks down as necessary to match (by ear).
I see you have tracks labled “Bass”, “Drums”, etc. Everything I’ve said above applies to the final mix, not individual solo tracks. Mixing is a totally different ballgame!
\
A “home recording” won’t be as loud as a commercial release unless you also use lots of compression & limiting. And it will take some skill, and maybe some special effect plug-ins to get similar loudness without totally destroying the quality of the sound.
Chris’s Compressor might be handy as well, although that’s a dynamic compressor and tries to set volume during the song as well as between songs.
http://theaudacitytopodcast.com/chriss-dynamic-compressor-plugin-for-audacity/
Koz
Thanks for the replies everyone. I’ve used various tools such as Replay Gain to achieve the same volume levels across multiple recordings after they’ve been mixed down. However, I use the “raw” project for playback when I’m jamming/performing. In this context, after the recording is complete, I balance the volumes between the tracks. After I’ve balanced the track volumes and adjust the EQ, I would then like to increase/decrease the overall volume level of the project to a standard level that I set or all projects.
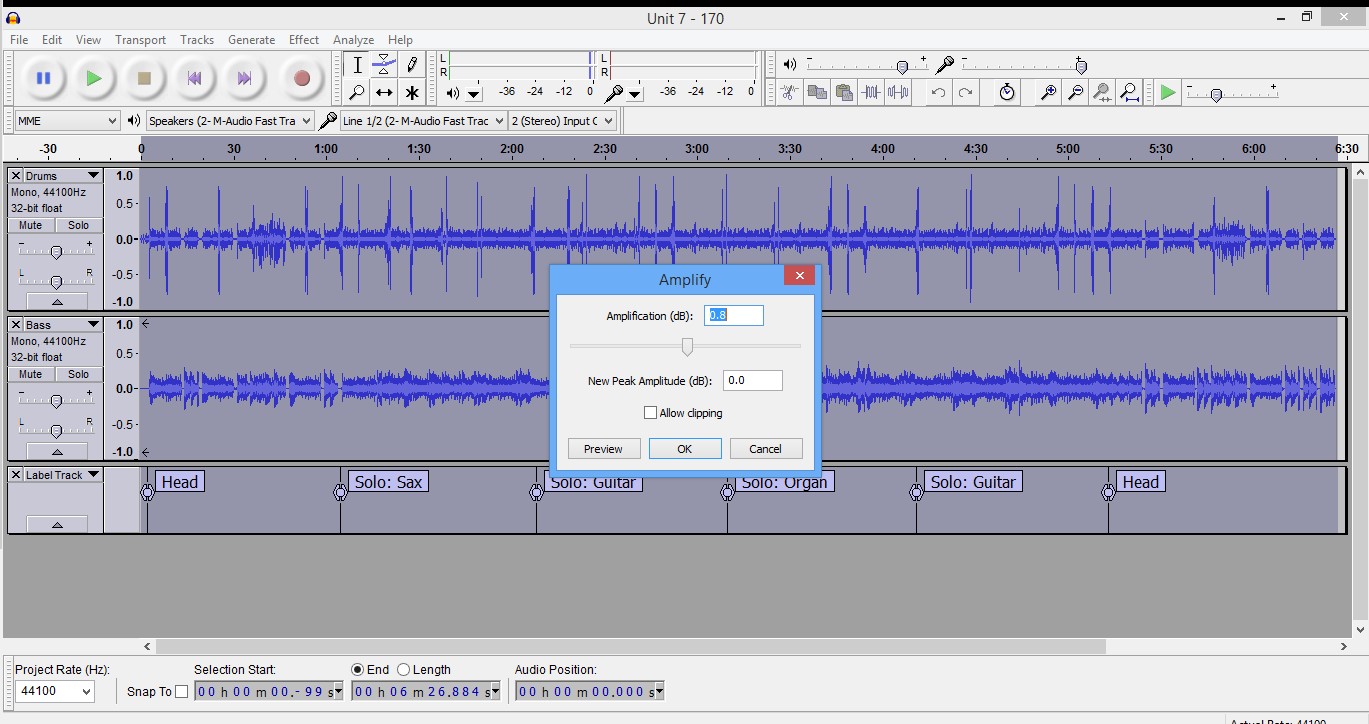
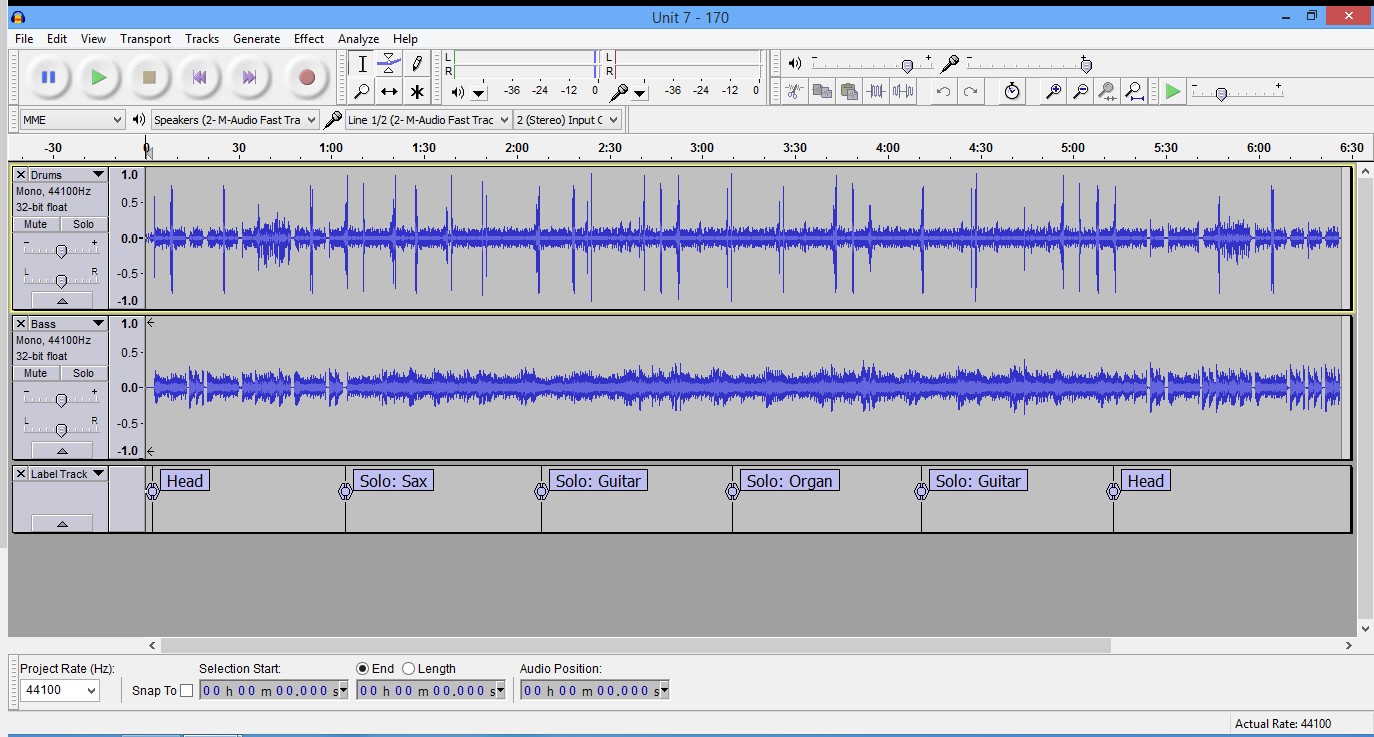
I was using “Amplify” to achieve this but here’s where I’m bit confused. As you can see in the pics, there are two projects. One shows the Amplification (dB) number 0.8 and in the other, 6.4. Based on this;
Where are these numbers coming from and what exactly do they represent?
Is Amplify the right tool to use to achieve a consistent volume level for each project?
If the answer to #2 is yes, do I adjust the Amplification to that level or just enter a new Peak Amplitude number?
OR… am I way of base altogether ![]()
When the “Amplify” effect is opened, the “Amplification (dB)” control is automatically set to the maximum possible amplification before clipping (distortion). In other words, Audacity already knows how big the highest peak (or lowest negative peak) is, and so it can instantly work out how much amplification will bring that peak to 0 dB, and that figure is entered automatically into the “Amplification (dB)” control.
In your first example, Audacity sees that the current biggest peak is -0.8 dB, so it offers to amplify by +0.8, which will bring that biggest peak to 0 dB.
In the next example, Audacity sees that the current biggest peak is -6.4 dB, so it offers to amplify by +6.4, which will bring that biggest peak to 0 dB.
Yes you can use the Amplify effect, but two tracks with the same “peak amplitude” will not necessarily sound the same “loudness”.
See the steps that DVDdoug described.
Great explanation Steve, thanks. So in the end, I can use Amplify to get to 0 dB for all projects, but then the rest is still done by ear. I’m going to experiment with this and report back in the next day or two.
Please note that the blue waves and the bouncing sound meters use different measurements. The meters use dB which more or less reflects how your ear works.
The blue waves use percent 1=100%. They’re measuring the same thing differently. All the things you can hear in your production don’t fit on the blue waves, but the waves are displayed like that because it makes cutting, editing and production easier. You can record a good track at a very low level by accident and the sound meters will still be pulsing, but the time line blue waves might be dead flat, or look very tiny.
Unless this is a special theatrical effect, that low level track is probably not valuable in the show, so it drops off the blue waves.
You can force the blue waves to work just like the meters. Menu arrow on the left > Waveform (dB). You may find locating the edit points and sound cues a lot harder if you do that.
Koz