- Created pseudo stereo with Ozone Imager
This is kind of interesting. Ozone Imager available here creates a fuller sound, for anything, and can be used to create kind of pseudo stereo for audio.
After processing as in steps 1 through 7, I then duplicated the mono voice track twice, for three copies in all. Then select the bottom two and join them into a stereo track. Then select that stereo track and apply Ozone Imager. I used settings 33 and 3.3 as in the image below. Then reduce the gain on that processed stereo track, Trebor recommends -12, I used -10 because I liked a bit more. Then select both the mono and the stereo track, and mix into a new track.
This gif from Trebor shows this process:
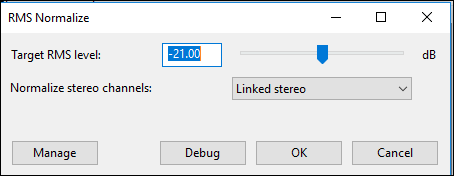
9. RMS normalized
Any of the previous steps may have moved the normalization around, so reset with RMS normalize, latest version as of this posting here. RMS normalize works better than regular normalize, since one loud peak will prevent regular normalize from having much effect. However, RMS normalize can result in a fairly loud track with clipping at some of the peaks. Experiment with the settings. I found the default of -18 dB not enough, and -21 was about right, significantly increasing the loudness, but with minimal clipping (then fixed in the following step below).
10. Soft limiter
There many now be some clipping. You can enable View / Show clipping in Audacity to see any highlighted in red. So apply soft limiting. I used -3 dB which produced a nice sound, and is a fairly common number used for audio submitted to professional services. Make sure “Soft Limit” is selected at the top for best quality results.

(Multi-part posting continued in next post.)