Hello:
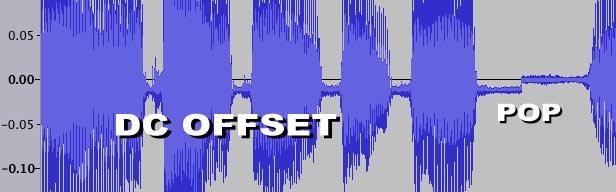
I am using audacity 2.1.3 and am finding the issue around DC offset to be a bit confusing. I have read the manual thoroughly and can’t tell whether or not I should be concerned or not, with my system. I am running Windows 10. When I record LPs or Tapes into Audacity, the result sounds fantastic. Yet, different online postings have suggested ALWAYS use DC offset correction, and others suggest only using DC offset correction if you have a problem with it appearing. The sample shown in the audacity tutorial at:
http://manual.audacityteam.org/man/dc_offset.html
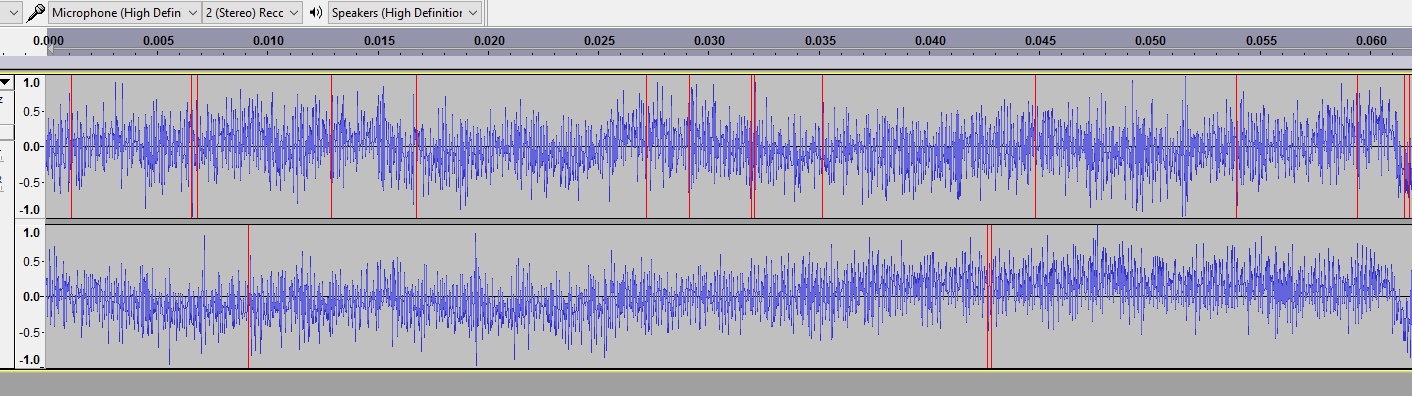
…does not appear to be happening with my recordings, nor do I have significant sections of the recording where this is happening. Only occasionally, here and there, do I have very small micro-sections (I have to zoom in quite deep to see anything) that appear to have some offset.
Per the document address above, it suggests checking to be sure the DC offset correction of my recording device is enabled, however, when I follow the directions:
Newer Windows PCs may have a DC offset cancellation feature when recording from the built-in sound inputs. To check for or enable this:
Step A: Right-click over the speaker icon in the System Tray > Recording Devices, or click Start > Control Panel > Hardware and Sound > Sound, then the “Recording” tab
Step B: Right-click over empty space, show disabled and disconnected devices, then right-click over each device and enable it
Step C: Right-click or select each device, choose “Properties” then look in the “Enhancements” tab
Step D: If there is no “Enhancements” tab, look in the sound device’s own control panel in “Hardware and Sound”.
…I can’t find any DC offset switch in Steps A through C or D under Control Panel. And actually…Steps A-C and D (by itself) appear to take you to the same window where there is no DC offset switch to check or uncheck.
Does anyone know how to find this in Windows 10?
Also…should I even be concerned? I like using the ‘Amplify’ effect and my recordings sound fantastic, but should I always be using DC offset first (and NOT normalizing), and then using ‘Amplify’ to boost my tracks to -2db or -1db as I see fit? Is there an advantage to using 'Normalize’s amplify effect vs. the ‘Amplify’ effect by itself after using DC offset? The document below seems to suggest that using ‘Normalizes’ amplitude settings will set each channel to the same level (which is not what I want). Alternatively, the ‘Amplify’ effect description seems to suggest that it will amplify each channel by the same amount, thus preserving any variance in the channels that exists (this is what I want). Am I reading this correctly? Am I getting what I want by using the latter over the former? And if so…in the event that I do need to use the DC offset correction at some point, is there anything wrong with using DC offset correction first, and then amplifying it with the ‘Amplify’ effect rather than the ‘Normalize’ amplification effect?
http://manual.audacityteam.org/man/amplify_and_normalize.html
Input and/or advice on this matter would be greatly appreciated.
Thank you all.